Add's Energy Fusion Theory


Add's Energy Fusion Theory
| “ | An experiment gone wrong just before its completion. Obtain the complete energy by defeating the raving energy frames.
|
” |

- 1 Player only.
Players must tackled this dungeon solo with additional limitations.
- Mounts cannot be used.
How to Play
The dungeon will pit you against two trials in a random order. Players must do all of the following:
- Defeat 3 stationary Energy Frame: Type - Berauk who will constantly strike lightning and try to attack players.
- Defeat Energy Frame: Type - Bug Walk while it will constantly multiply creating smaller clones of itself.
After completing both trials, fight Apocalypse Type - Void itself.
Every time you finish the dungeon and don't get a Apocalypse Type - Void Weapon Cube, the chance of dropping Apocalypse Type - Void Weapon Cube will increase. This chance can be seen at the bar on dungeon's information on Dungeons tab
}}| Monster Image | Boss Description | Boss Moves |
|---|---|---|
  |
Energy Frame: Type - Berauk - A Berauk made of void energy created by Add. He cannot move, however will attack constantly. |
|
  |
Energy Frame: Type - Bug Walk - An Assault Crasher made of void energy created by Add. Only the main Bug Walk needs to be defeated. |
|
.png)  |
Energy Frame: Type - Bug Walk - Smaller copies of Bug Walk. Defeating these provides no benefits. |
|
| Obstacles Image | Obstacles Description |
|---|---|
| Energy Fusion System - The longer enemies are active the more powerful they become. With each activation, an enemy will become 50% stronger. They can get buffed up to 10 times. |
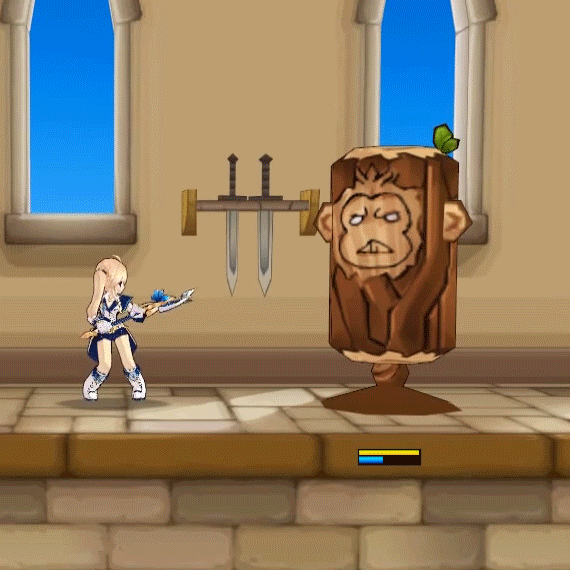
| Monster Image | Boss Description | Boss Moves |
|---|---|---|
  |
Apocalypse Type - Void - A failed attempt at making an ultimate weapon. Type-Void has gone rogue. |
Notes:
|
- Dungeon Start Cutscene
- Dungeon Victory Quotes
 Add: Heh heh... It's almost complete! According to the theory, it should soon.. The Ultimate Weapon, [Apocalypse Type - Void]!! Wha, what! This can't be!? Shoot! It was almost complete!! Nooooooooo~-~-~-~!!!
| Icon | Name | Stats | Mystic Enchant | Enhancement Bonuses |
|---|---|---|---|---|
             
|
Apocalypse Type - Void Weapon |
Lv95 Weapon: |
Red Stage 1: Critical +3% Blue Stage 1: Damage Reduction +5%, Awakening Charge +5% Yellow Stage 1: Elemental Resist +75 |
Enhancement +9: Physical/Magical Defense +7.5% |
-

Old loading image.
-

Apocalypse Type - Void


- It is revealed in the game files that this dungeon was originally intended to have another miniboss, Energy Frame: Type - Kayak.
- When this dungeon was first released, it was originally located in Altera.
- In the past, all the mobs in the dungeon looked identical to their counterparts elsewhere in the game with the exception of Berauk which featured a swapped color pallet.
- This was later changed, giving all enemies a color scheme similar to Apocalypse Type-Void. Additionally, Energy Frame: Type - Alterasia, Edan, Valak, and Q-PROTO_00's weapons were swapped with Apocalypse Type - Void Weapons.
| Date | Changes | |
|---|---|---|
| KR | NA | |
| 08/08/2016 | 03/29/2017 |
|
| 07/08/2021 | 08/04/2021 |
|
| Server | Name | Translation |
|---|---|---|
| 애드의 에너지융합 이론 | Add's Energy Fusion Theory | |
| エドのエネルギー融合理論 | Add's Energy Fusion Theory | |
| 艾迪的能量融合理论 | Add's Energy Fusion Theory | |
| Adds Energiefusionstheorie | Add's Energy Fusion Theory | |
| Teoría de la energía de fusión de Add | Add's Fusion Energy Theory | |
| La théorie de fusion d'énergie d'Add | Add's Energy Fusion Theory | |
| Teoria della Fusione Energetica di Add | Add's Energy Fusion Theory | |
| Teoria fuzji energii Adda | Add's Energy Fusion Theory | |
| Teoria de Fusão Energética do Add | Add's Energy Fusion Theory |
- Other
- Region 1~6
- Region 7~12
- Region 13~18
- Region 19~22
- Laby
- Noah
- Lithia
- Miscellaneous
- Other
- Region 1~6
- Region 7~12
- Region 13~18
- Region 19~22