Blooming Mineral Field: Difference between revisions
From Elwiki
Gameboy224 (talk | contribs) No edit summary |
Gameboy224 (talk | contribs) No edit summary |
||
| Line 150: | Line 150: | ||
| colspan=2 | | | colspan=2 | | ||
*{{color|red|Point Explosion - Party|b=1}}: A random player will be inflicted with a {{color|red|red aura}} that explodes after roughly 3 seconds, dealing lethal damage. Much like the {{color|red|Target|b=1}} mechanic from Phase 1, players must stack together to reduce and share the damage. | *{{color|red|Point Explosion - Party|b=1}}: A random player will be inflicted with a {{color|red|red aura}} that explodes after roughly 3 seconds, dealing lethal damage. Much like the {{color|red|Target|b=1}} mechanic from Phase 1, players must stack together to reduce and share the damage. | ||
**In Solo Mode the mark will appear at a random location on the map instead of on a player, standing in the mark will completely avoid damage. | |||
| | | | ||
<gallery widths=150px heights=150px> | <gallery widths=150px heights=150px> | ||
| Line 157: | Line 158: | ||
| colspan=2 | | | colspan=2 | | ||
*{{color|red|Point Explosion - Solo|b=1}}: A random player will be inflicted with a {{color|blue|blue aura}} that explodes after roughly 3 seconds, dealing lethal damage to any other players nearby. | *{{color|red|Point Explosion - Solo|b=1}}: A random player will be inflicted with a {{color|blue|blue aura}} that explodes after roughly 3 seconds, dealing lethal damage to any other players nearby. | ||
**In Solo Mode the mark will appear at a random location on the map instead of on a player. | |||
| | | | ||
*The range of the explosion is roughly the size of the visual, so the marked player does not need to be too far away from the party. | *The range of the explosion is roughly the size of the visual, so the marked player does not need to be too far away from the party. | ||
Revision as of 05:45, 25 May 2025
- English

Blooming Mineral Field
| “ | The environment bloomed in the Abyss seems perilous like a model garden. A primordial land, the one lost in time awakens after a long slumber.
|
” |
Description
When they followed the El energy to the mineral field, the El Search Party finds the thief.
Recommended Level
99
Required Combat Power
- Story Mode
- Normal/Solo Mode
2,500,000
Entry Requirements
Solo Mode
- Main Article: Raid Solo Mode
- Up to 4 players can enter, requiring a minimum of at least 3 people. (Normal)
- 2~4 players. (Story)
- Only three Resurrection Stones can be used to revive.
- Players are given a 15 second penalty before they can resurrect themselves.
- Bosses can only be frozen or petrified 3 times each (every hit is 1 count) at a time. When this limit is exceeded, they become invulnerable to that debuff for 60 seconds.
- Freezing or petrifying can be attempted again after 30 seconds, but you will not be able to chain it further. This also resets the 3-step chain's cooldown to 60 seconds.
Details
- Most enemy attacks in this dungeon ignore players' physical and magical defense (either fully or partially).
 Enviromental Debuff - Demon RealmEnviromental Debuff - Demon Realm
- The El's power does not reach into this realm, Attack and HP will be reduced by 90%. Enemies will have a 20% chance to resist your critical hits.
Boss Defenses
| Boss Name | Defense (Raw) | Defense (Percentage) |
|---|---|---|
| Dreaming Hatchling | 21883 | 83.91% |
| Awakened Myuriconus |
- Phase 1
- Phase 2
Phase 1 - Dreaming Hatchling
Phase Gimmick
Barrier - At the start of the raid, the boss will be encased in a barrier. There are multiple mineral blocks that will spawn around the map. Destroy them the deplete the barrier.
- Head Hunter is recommend to be taken off while attacking mineral blocks.
Barrier Regeneration: After the barrier is depleted, you can attack the boss. Re-equip Head Hunter to burst down the boss. Mineral blocks will still spawn around the map. Destroy them to slow down the rate at which the barrier regenerates.
Boss
| Dreaming Hatchling | ||
|---|---|---|
| File:Dreaming Hatchling.png | An infant dragon trapped and slumbering within the Abyss. | |
| Boss Attacks | Tips | |
|
| |
|
| |
|
| |
|
||
|
||
|
| |
|
| |
Dialogue
{{
}}
| Image | Name | Boss | Character | Stats | Set Effects |
|---|---|---|---|---|---|
 |
Accessory (Bottom Piece): |
2 Pieces:
3 Pieces:
|
{{
}}
Trivia
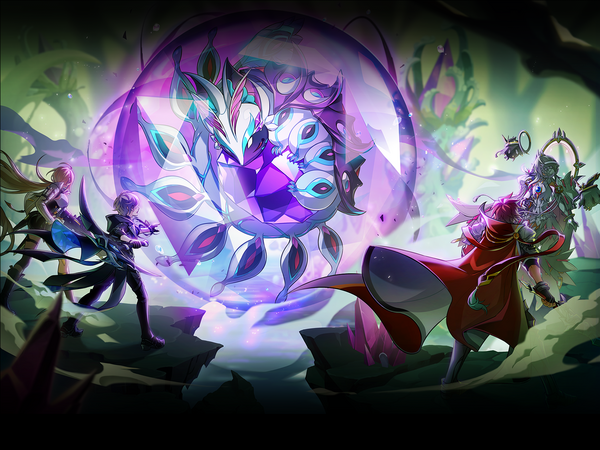
- The characters featured on the loading screen are Knight Emperor, Code: Esencia, Minerva and Liberator.
Updates
| Date | Changes | ||
|---|---|---|---|
| KR | NA | ||
| 08/04/2022 | 8/31/2022 |
| |
| 09/01/2022 | 9/28/2022 |
| |
| 07/20/2023 | 08/16/2023 |
| |
| 09/12/2024 | 09/25/2024 |
| |
| 04/24/2025 | 05/22/2025 |
| |
Alternative Names
{{
}}
| Server | Name | Translation |
|---|---|---|
| 피어난 광물지대 | Blooming Mineral Field | |
| 绽放的矿物地带 | Blooming Mineral Field |
Regions
- Region 19~22
- Region 1~6
- Region 7~12
- Region 13~18
- Laby
- Noah
- Lithia
- Other
- Miscellaneous
| Abyss | Monaterra | Doom Aporia | |||
|---|---|---|---|---|---|
| {{ }} | {{ }} | {{ }} | {{ }} |


